In this how-to tutorial, we'll go over how to setup an E-mail Signature for all outgoing email sent via the BEZA.NET WebMail Pro application.
- Login to your e-mail account via the BEZA.NET WebMail Pro:

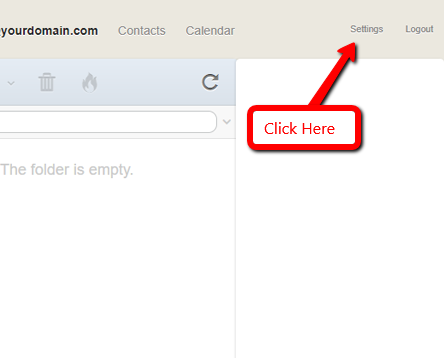
- Once you have successfully logged in, click on "Settings" located on the top-right:
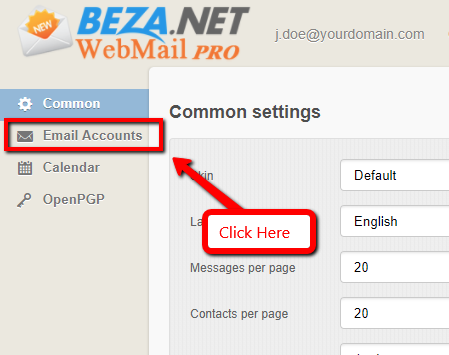
- Next Select "Email Accounts" on the left sidebar:
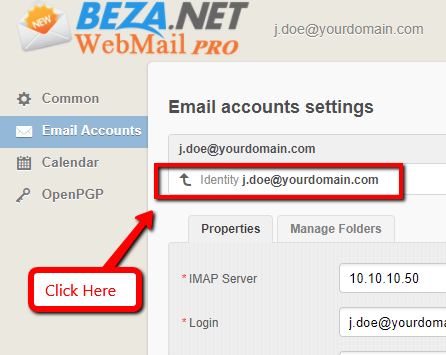
- On the Email accounts settings page, click on the "Identity..." your email address as shown below:
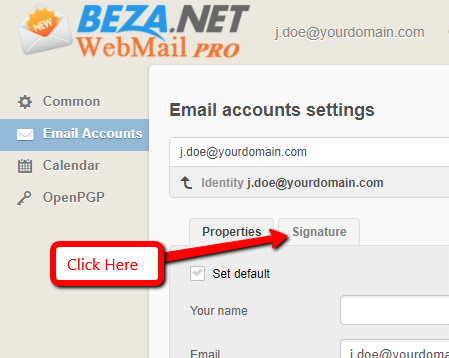
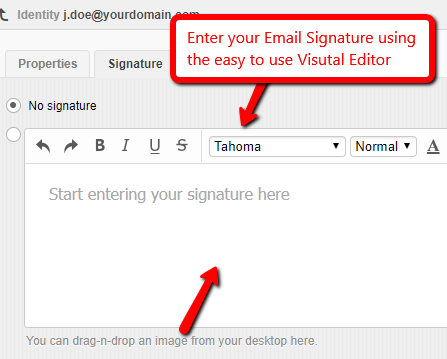
- Select the "Signature" tab as shown below:
- Enter your desired signature using the visual editor. You can even drag-and-drop an image (ie logo in gif/png/jpg). Click the "Save" button once you're done editing your signature:
Congratulations, you've successfully added an e-mail signature. Now, everytime you send an email via the BEZA.NET WebMail Pro application, the above e-mail signature will be included. Try testing it now by composing a new email.


